If you made the felted spring bunny, and you’re up for the next wool craft challenge, here’s another spring project that’s just stinkin’ cute. This is a fuzzy colored egg that nestles a baby chick inside. It’s like an adorable Marshmallow Peep you can’t eat. (Wait, that doesn’t sound like a good thing…)

You basically wrap felt around a ball or a spherical rock, and then massage it with warm soapy water, shrinking the felt around the ball. Then you “slice open” the egg 3/4 of the way around, take out the ball, and pop a simple, felted yellow “chick” in there.
You will need:
A ball or a round rock
Two pieces of felting wool (color of your choice + yellow)
Bowl of clean cold water
Bowl of warm water + dish soap
A thin sewing needle
Thread
Scissors
A tiny piece of orange or brown felt

STEP 1: Start with a some colored wool of your choice and a small ball. I used one of those candy-machine hi-bounce balls that I found kicking around the house. How much felt do you use? Enough to wrap it around the ball a few times, so that there are a several layers.


STEP 2: Dunk into warm sudsy water.


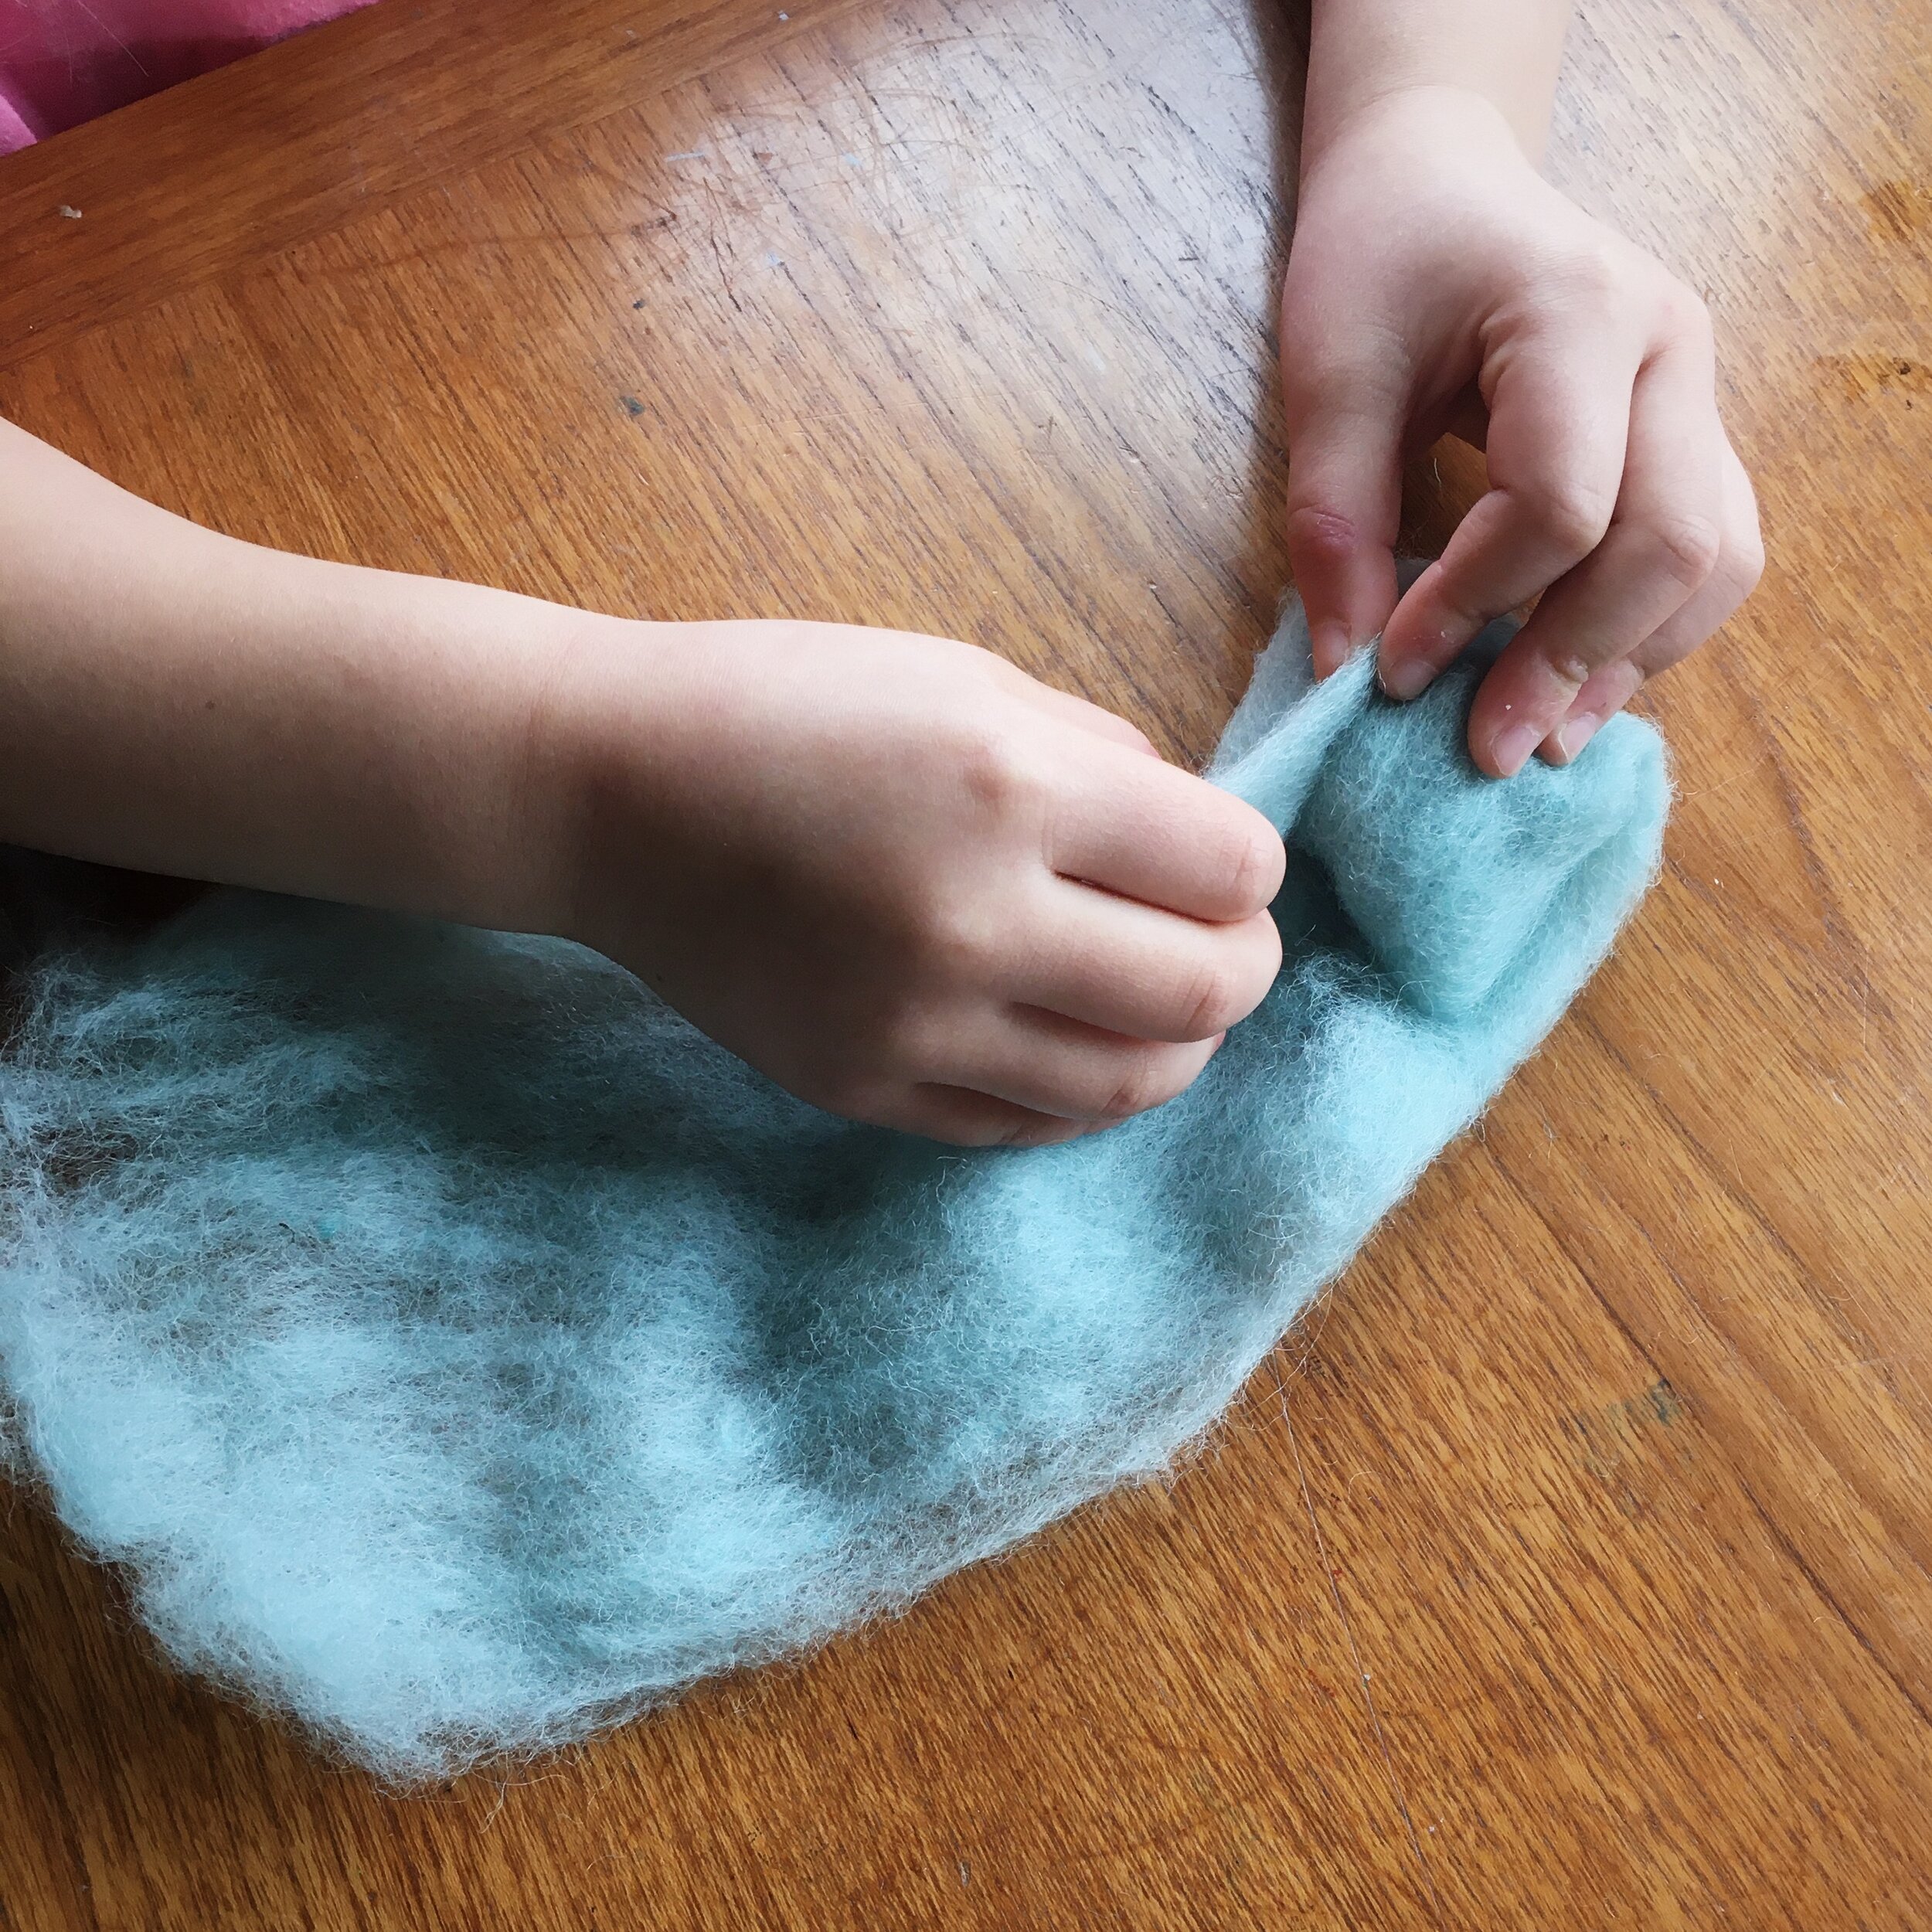
STEP 3: Gently roll and sqiush the wool around in your hands so that the fibers absorb the suds. Begin to form a “snowball.” You’ll want to roll this one more tightly compared to the bunny. So keep on rolling, and keep on squeezing until the wool becomes compact.


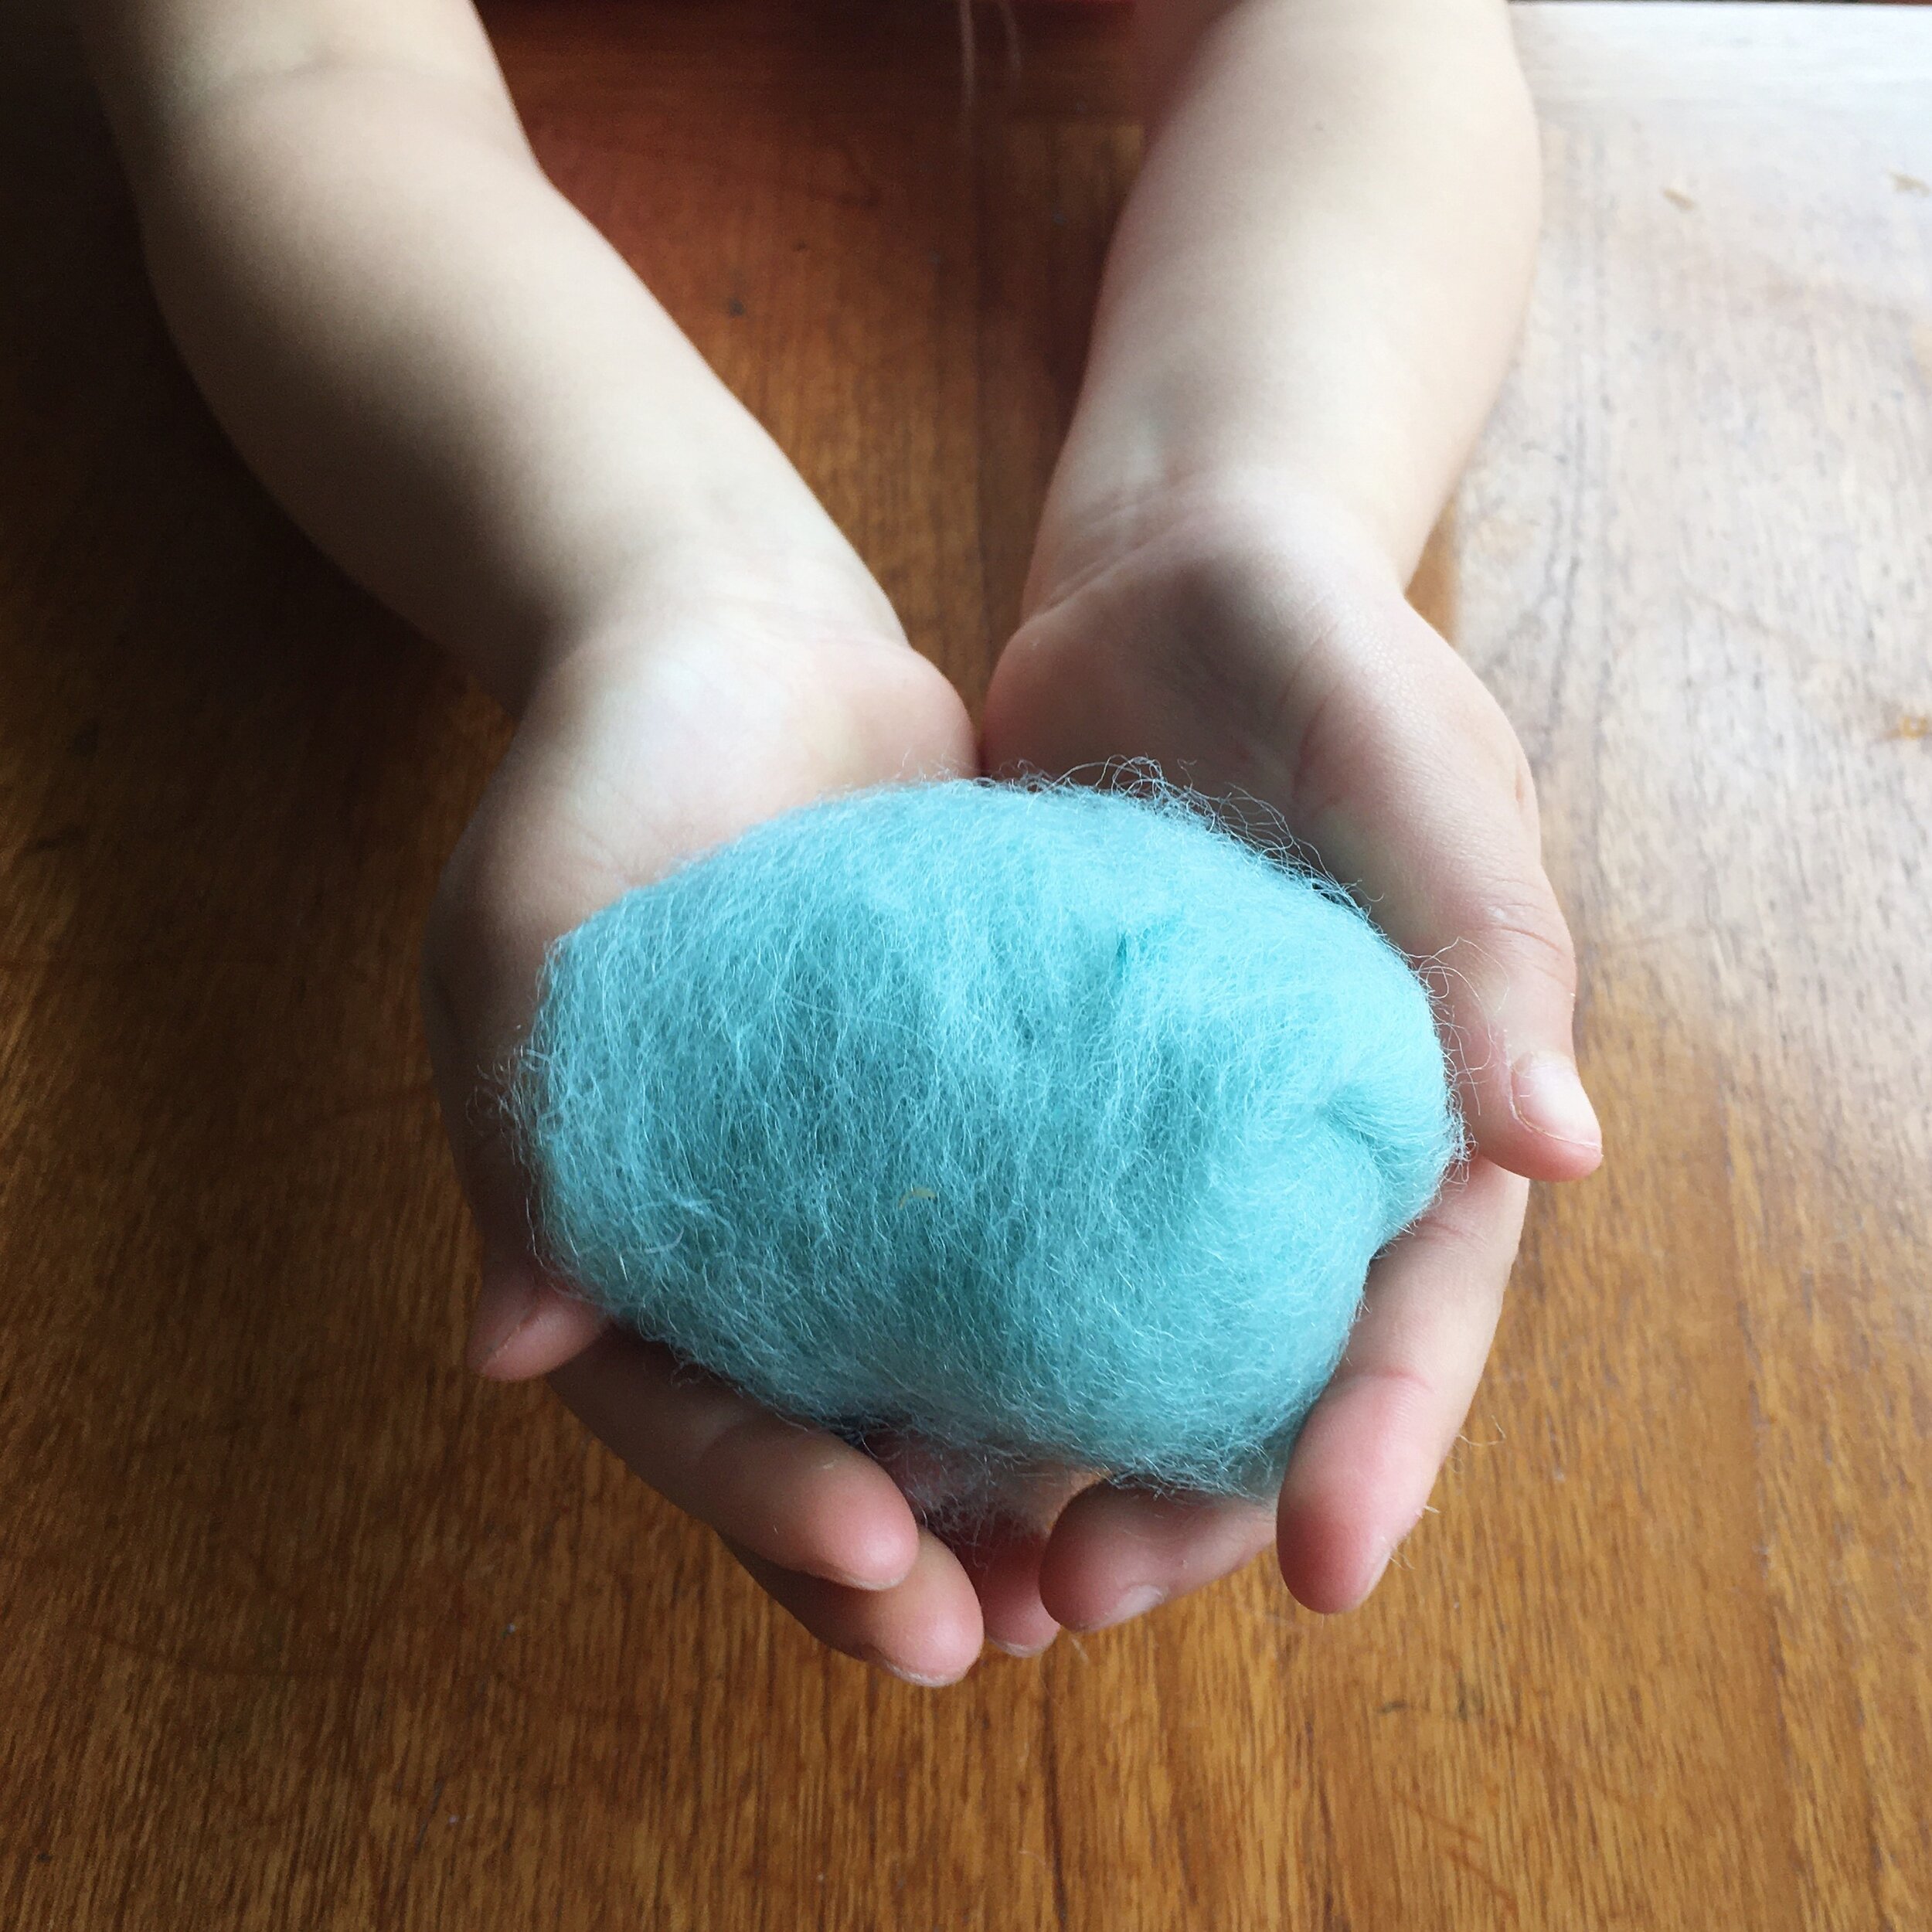
STEP 4: Gradually start to form an egg shape. When you’re getting close, roll your wooly ball around on a clean dish towel, and dunk into your bowl of COLD water. This helps remove some soap and shrink up the wool even more.


STEP 5: Using a sharp pair of scissors, snip the egg open at its midline — but only 3/4 of the way around. You’ll want to leave a “hinge” for the egg to open and close.


If your egg edges look “furry” like this one above, you can just pop the ball back in, and dunk it back into the warm sudsy water for some more shrinking. When you’re done, it should look more like this:

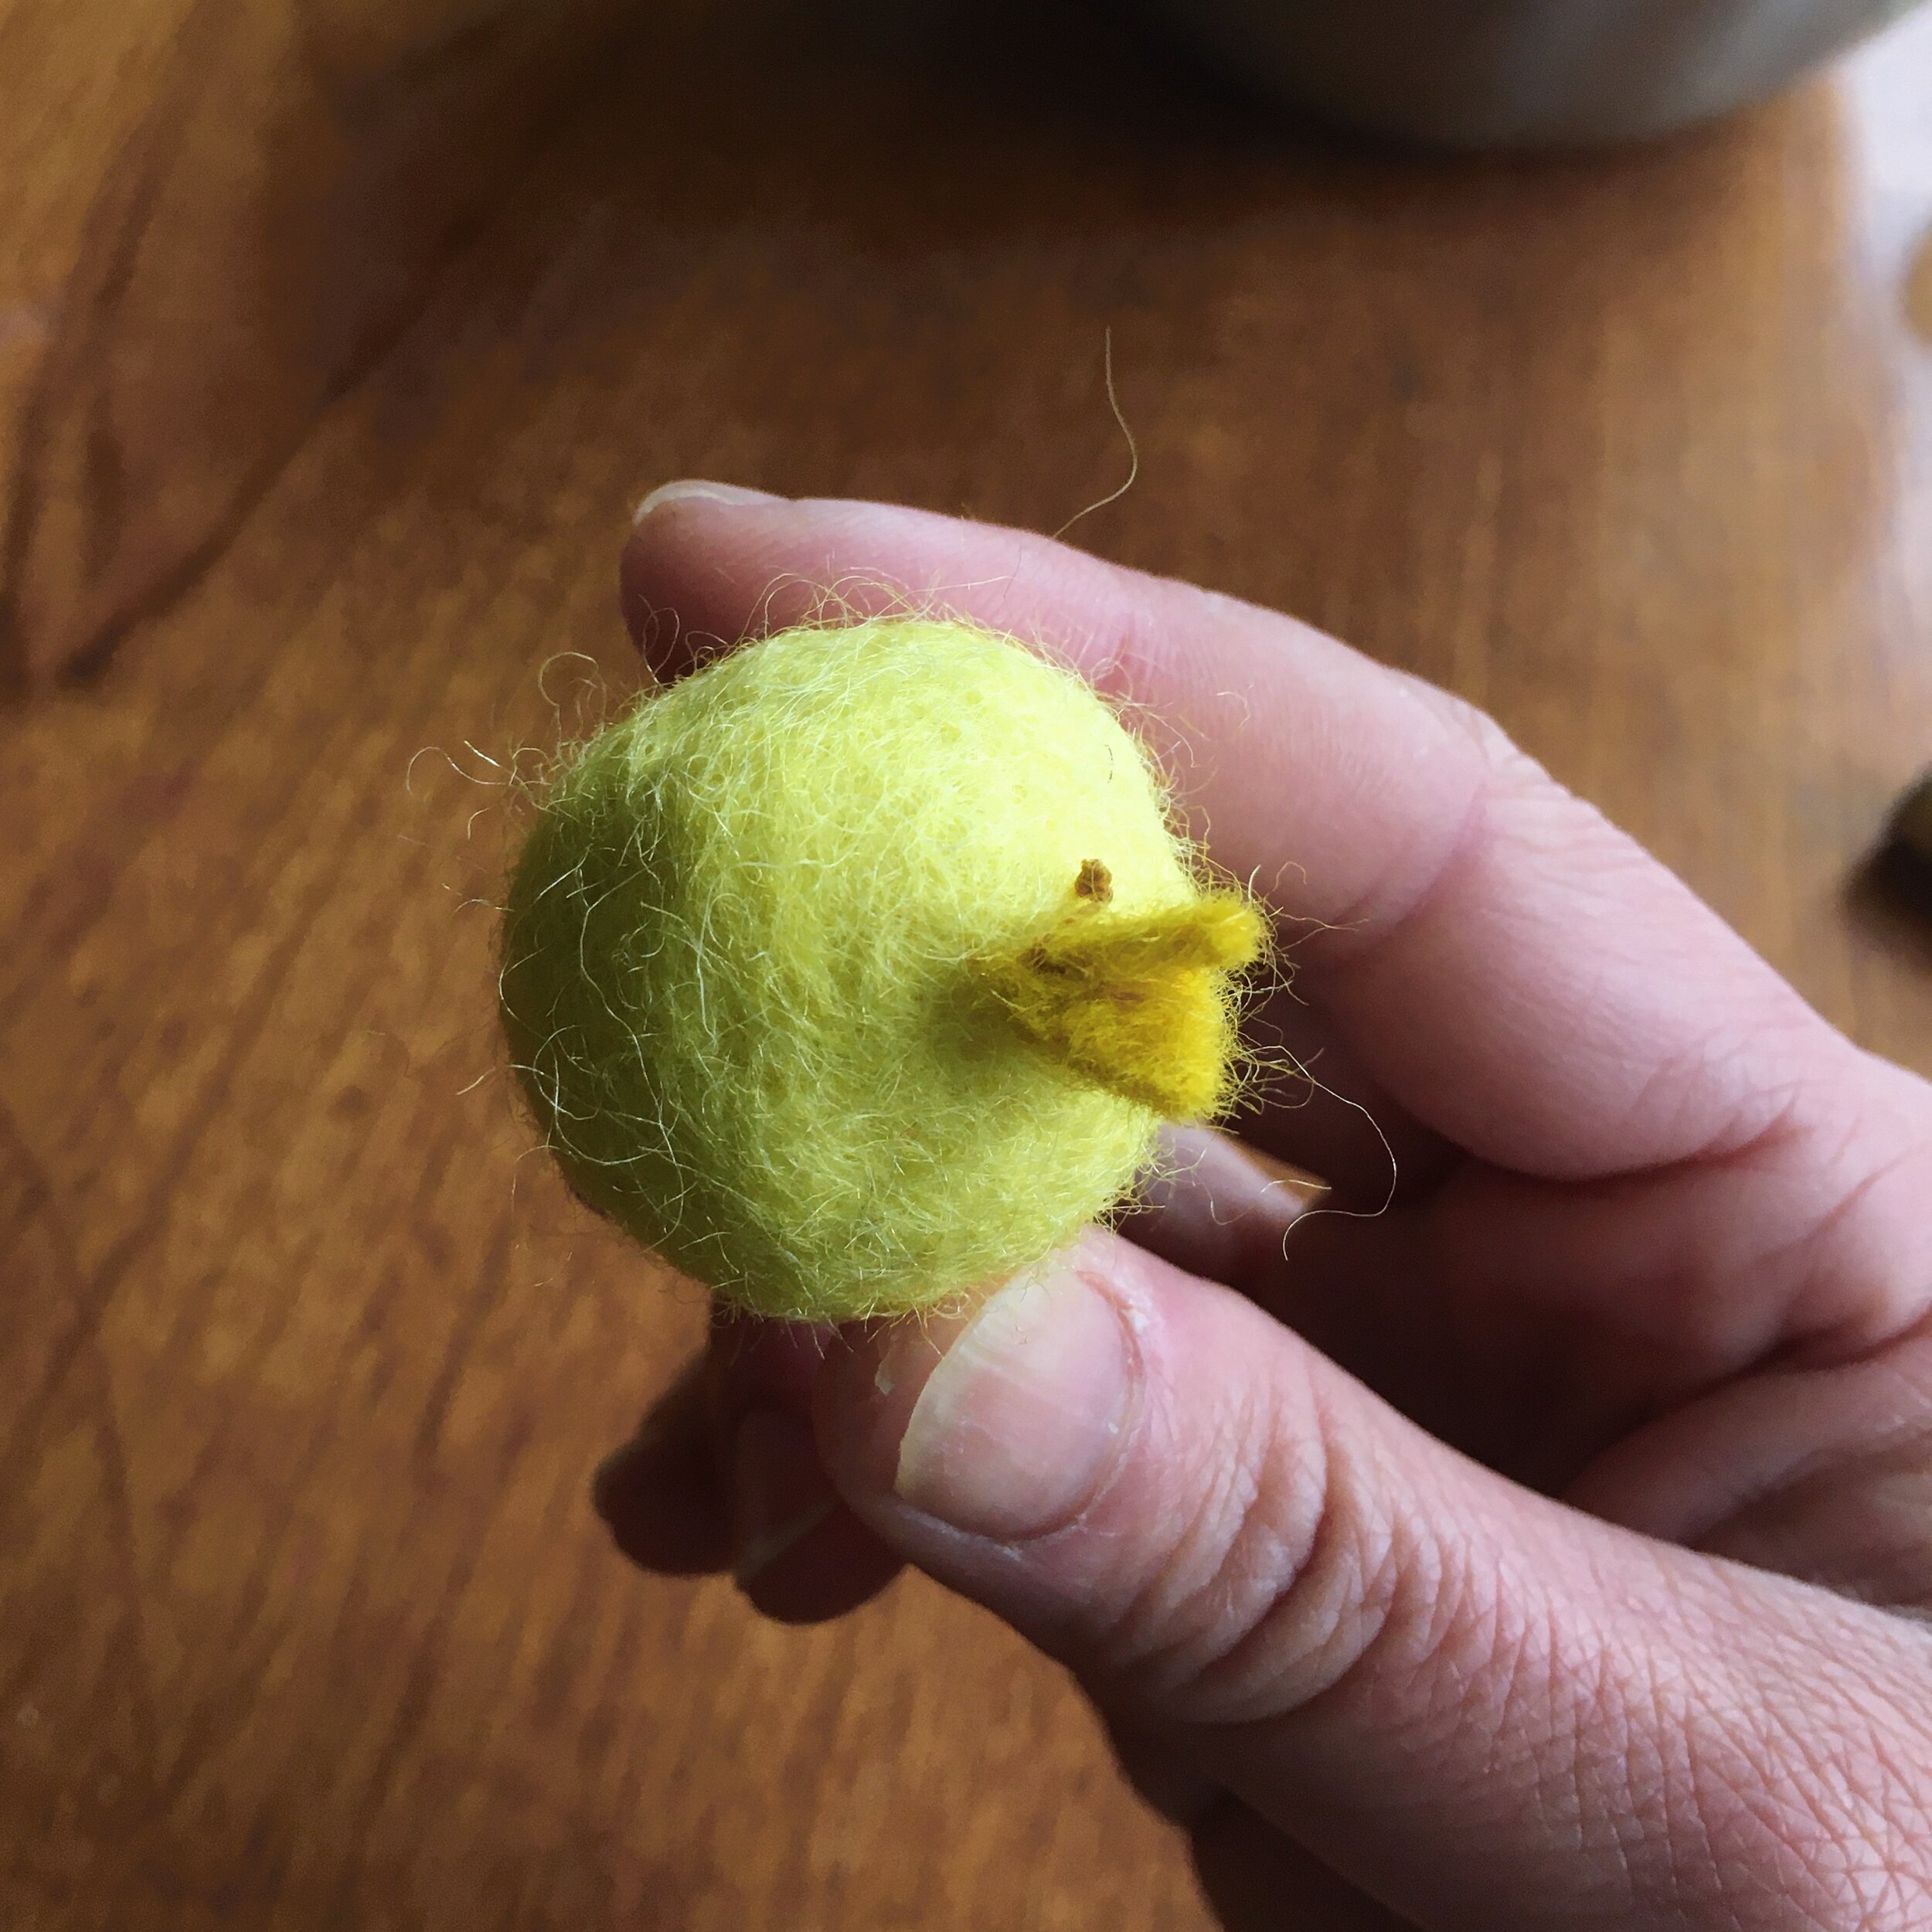
Step 6: Now for the chicky. Get a handful of yellow wool (remember it will shrink down), dunk it in the warm sudsy water, and roll just like you did before. No rubber ball inside this time. Just wool. Roll it until you get a compact little ball.


Step 7: Check for size. Stop rolling when your “chick” fits into its egg.

Step 8: Now for its beak. Cut a teeny-tiny diamond of felt, and using your needle and thread, sew it onto your yellow ball. You’ll want to sew from one point of the diagonal to its opposite point. You’ll need a thin needle for this to get through the wool. It might be tricky to get that needle through, but luckily all you need is a couple of stitches.


Step 9: Pop that chick into its rightful egg, and that’s it! You’ve made a cute thing that will make people think you’re some sort of crafting star.